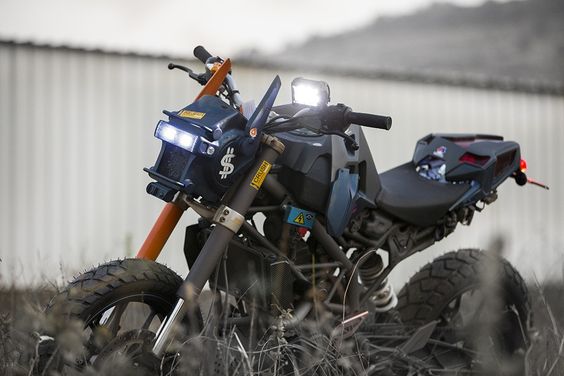
Title
A Step-by-Step Guide to Building Your Own Custom Motorcycle
Introduction:
Building your own custom motorcycle is an exciting and rewarding project for motorcycle enthusiasts. It allows you to create a unique ride that reflects your style and preferences. In this step-by-step guide, we will walk you through the process of making your own custom motorcycle. From planning and sourcing parts to assembly and customization, we’ll cover the essential steps to help you bring your dream bike to life. Let’s get started!
- Define Your Vision and Set a Budget: Before diving into the project, clarify your vision for the custom motorcycle. Determine the style, design, and performance aspects you want to achieve. Research various motorcycle styles such as café racers, bobbers, or choppers to find inspiration. Set a realistic budget that considers the cost of parts, tools, and any professional assistance you might need.
- Research and Select a Suitable Base Motorcycle: Choose a base motorcycle that aligns with your customization goals. Consider factors such as frame compatibility, engine capacity, and overall condition. Research different makes and models that are commonly used for customization projects. Evaluate their availability, aftermarket support, and compatibility with the modifications you plan to make.
- Plan Your Customization: Create a detailed plan for your custom motorcycle. Identify the modifications you want to make, such as changing the frame, altering the suspension, upgrading the engine, or customizing the bodywork. Consider both functional and aesthetic aspects. Sketch out your design ideas, taking into account ergonomics and safety considerations.
- Source Quality Parts and Components: Research reputable suppliers and manufacturers to source high-quality parts and components for your custom motorcycle. Look for trusted brands known for their reliability and compatibility with your base motorcycle. Compare prices, read reviews, and consider reaching out to fellow builders or online communities for recommendations.
- Prepare Your Workspace and Gather Tools: Designate a dedicated workspace for your custom motorcycle project. Ensure you have ample space and proper tools for the assembly and customization process. Common tools include wrenches, sockets, screwdrivers, pliers, and a torque wrench. Invest in quality tools that will make the project more efficient and help you achieve better results.
- Assembly and Customization: Follow the manufacturer’s instructions and guidelines when assembling and customizing your motorcycle. Begin with the frame and engine, then proceed to components such as the suspension, brakes, and exhaust system. Customize the bodywork, paint, and graphics to achieve your desired look. Take your time and pay attention to detail during each step of the process.
- Safety Checks and Test Rides: Once the assembly is complete, perform thorough safety checks to ensure that all components are secure and functioning properly. Check the brakes, lights, and electrical systems. Conduct a test ride in a controlled environment to assess the bike’s performance and make any necessary adjustments.
Conclusion
Building your own custom motorcycle is a labor of love that requires careful planning, research, and attention to detail. By following this step-by-step guide, you can bring your vision to life and create a unique ride that reflects your personal style. Remember to prioritize safety and consult professionals or experienced builders when needed. Enjoy the journey and the satisfaction of riding a motorcycle that is truly one-of-a-kind.


